3D modeling software "Metasequoia" official web site
3D modeling software "Metasequoia" official web site
In Metasequoia 4.5, [Morph] command has been added.
[Morph] command deforms the shape of the object to the other object having the vertices as much as that.
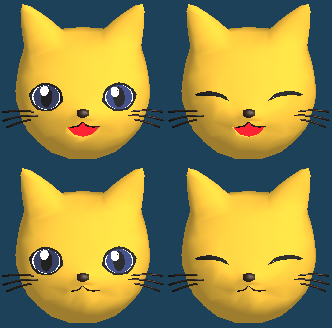
By using this feature, you can express the change of shape such as facial expressions.
1. Open the file that you want to set the morph.
You can download the file to be used in this tutorial from the following link.
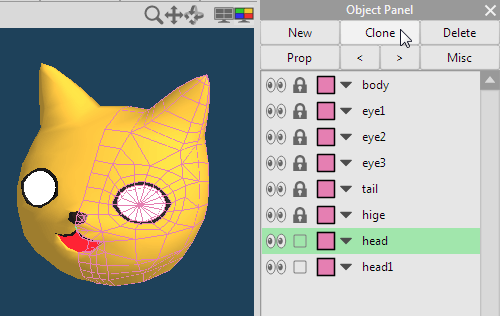
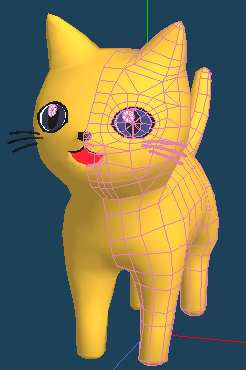
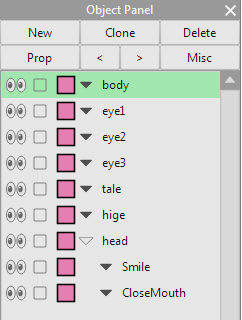
2. Select the object to set the morph. And, clone the object in [Object panel].
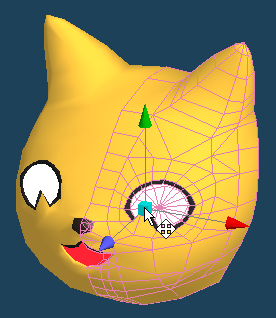
3. In the cloned object, make a facial expression by moving vertices.
You have to edit without varying the number of vertices. You cannot set the morph when the number of vertices is varied using [Knife] or [Edge], etc..
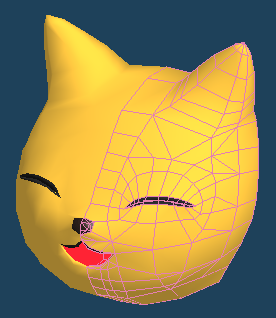
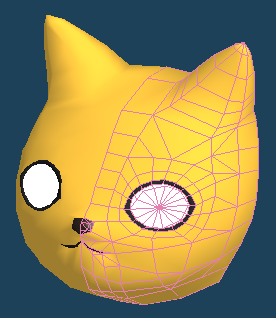
As the figure above, prepare the expression pattern.

4. Run [Menu > Object > Freeze]. you need to make freeze the object before setting the morph.
Because [Morph] command ignores the mirror and the curved object.
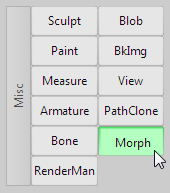
5. Preparation of the object is completed. Select the [Morph] command.
6. Set the base object to apply the morph. Base object is the current object on [Object panel].
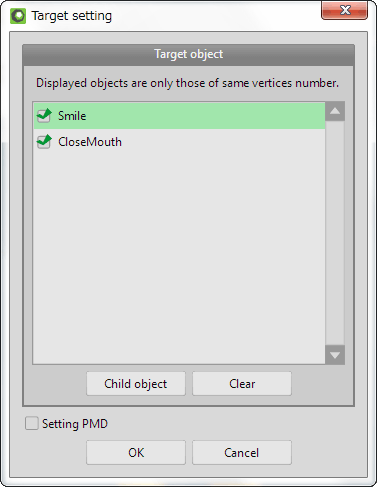
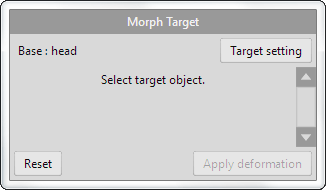
7.Next, click the [Target setting]. Window to select the target of deformation is opened.
Only objects, with the same quantity vertices of the base object, can be selected. You cannot select the object when you have edited to increase or decrease the vertex.
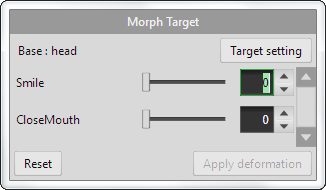
8. Morph setting is completed.
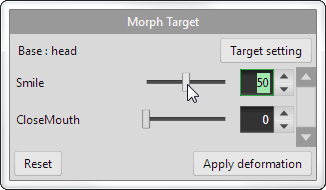
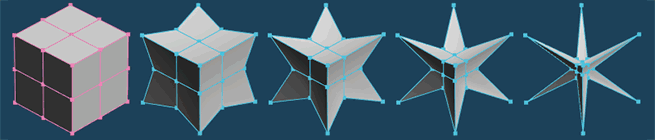
When you move each target of the slider, vertices of the base target are moved according to the change amount and the object is deformed.

In the figure above, target slider is 0, 50, 100.
Deformation is automatically complemented when you move the slider.
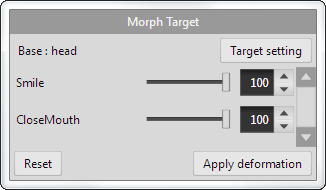

Deformations are synthesized when multiple slider is moved at the same time.
When you click the [Apply deformation], deformation results are created as a new object.
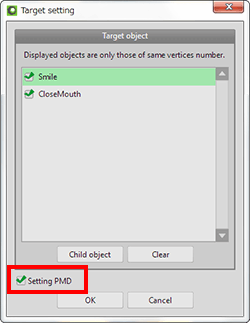
In the target setting window, you can do the settings for exporting PMD file when [Setting PMD] is checked.
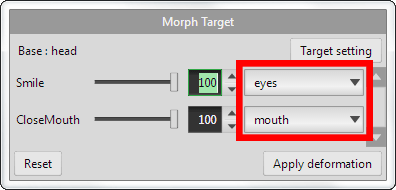
When this option is enabled, the category list is displayed next to each morph slider. You can categorize morph by type.

Morph settings are exported as PMD file.
Please select [On] to [Facial Morph] and save when you save as PMD files.

Open the saved PMD file in MikuMikuDance. Morph setting is added.