3D modeling software "Metasequoia" official web site
3D modeling software "Metasequoia" official web site
We continue to develop Metasequoia 4 to make it easier for more users.
However, new users or users who have used the software after a long time may miss Metasequoia's features.
In this article, we will introduce some of the features we haven't introduced in detail in the past.
In Metasequoia 4, pressing the F1, F2 or F3 key switches the 3D view to Top, Front, or Left side. (Display Bottom, Back, Right side with Shift + F1, F2 or F3)
 |
 |
 |
 |
 |
| Top(F1) | Front(F2) | Left(F3) | ||
 |
 |
 |
||
| Initial position of camera | Bottom(Shift+F1) | Back(Shift+F2) | Right(Shift+F3) |
Apart from these display keys, information such as the position and orientation of the current viewpoint camera can be recorded in the F5 to F8 keys.
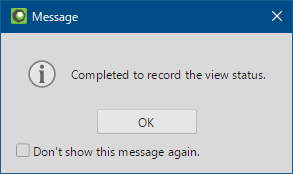
After moving the camera to a suitable position, hold down the Shift key and press one of the F5 to F8 keys. The current viewpoint information is recorded.
Press F5 to F8 again to move the camera to the recorded position.
Viewpoint recordings include other than camera information. They are information of [Edit option], and Background Image file. For example, you can applicate such as switching multiple background images using F5 to F8.
 |
 |
 |
| F5 and F6 are recording the viewpoint which set different background image. | ||
Viewpoint records are erased when you exit Metasequoia 4.
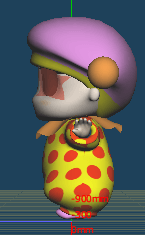
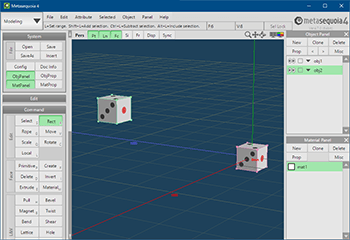
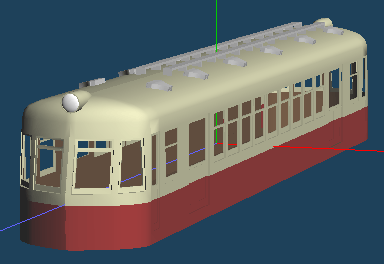
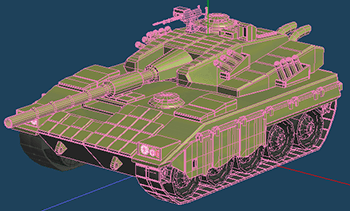
By default in Metasequoia 4, the rotation center of the viewpoint is the origin (0, 0, 0). As the camera rotates around the origin, you can easily see the appearance of the object near the origin.
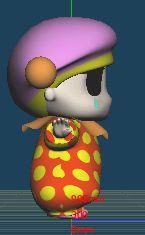
But, in the figure below, the position of the object that I want to focus on is far from the origin.
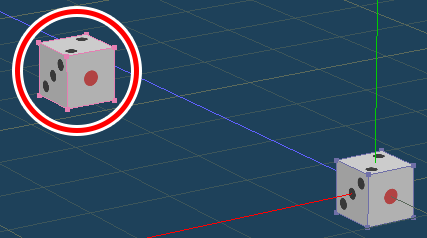
If this camera that centered on the origin is rotated, the object will move significantly and may be moved to out of view.
In such a case, change the center of rotation on the viewpoint.
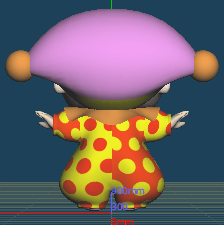
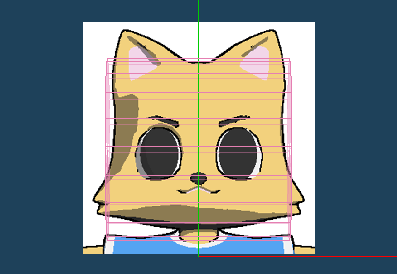
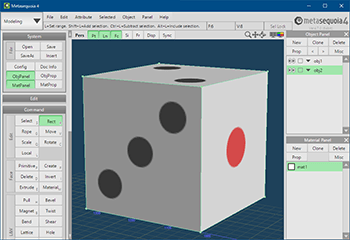
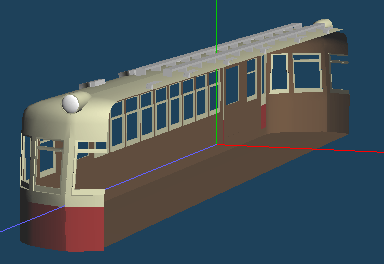
Select the part of the object you want to focus on. You can change the center of rotation to the center of the selected part by [Attribute > Set center of rotation (Ctrl + W)].
If you move the center of rotation to the center of the object you want to focus on, the object will not go out of view when you rotate the camera.
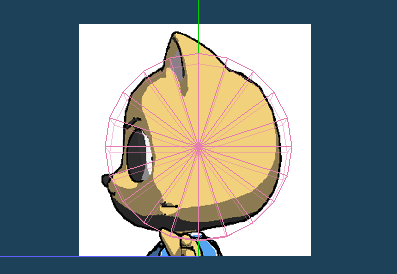
Or, execute [Attribute > Fit to view (Ctrl + F)]. The selected part is zoomed so that it fits on the 3D view, and at the same time the center of rotation is also moved to center of the selected part.
 |
|
 |
| Fit to view (Ctrl + F) | ||
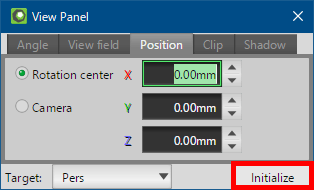
If you want to reset the center of rotation to the origin, Shift-click [View panel] in [Disp] of View header. The camera settings are initialized.

Or, open [View Panel] and click [Initialize]. In [View Panel], you can also check the current position of center of rotation, etc.
You can set the center of rotation to change automatically.
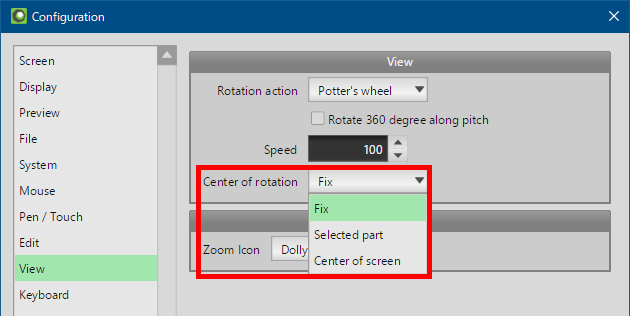
If you change [Center of rotation] in [Configration > View] to [Selected part], the center of rotation will automatically change according to current selected part.
When set to [Center of screen], it will always be the center of screen regardless of the selection.
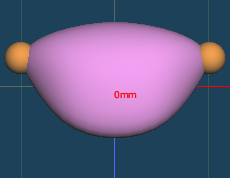
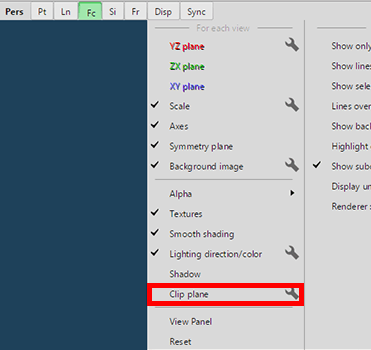
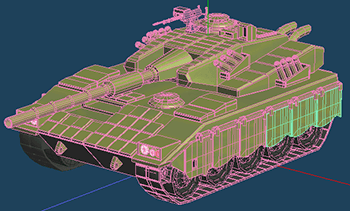
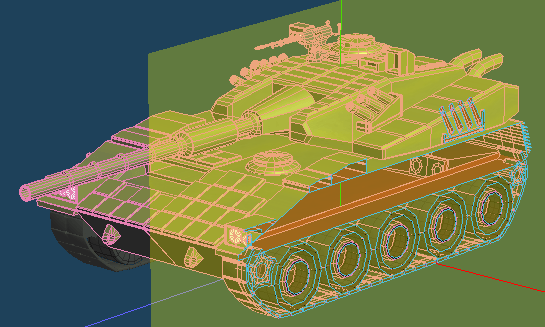
[Clip plane] hides one side of objects.

It can be turned on / off from [Disp > Clip plane] on the view header. And you can change the position of the plane by [View] command.
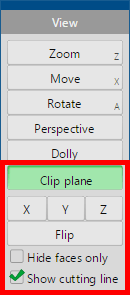
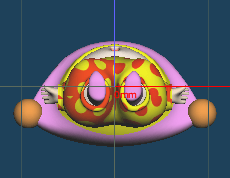
You can use [Clip plane] to display the cross section of the 3D model.
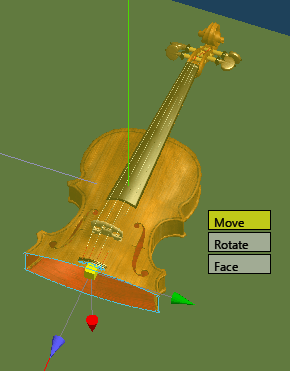
You can measure the length from the cross section by [Measure]. (*[Measure] command is EX edition only)
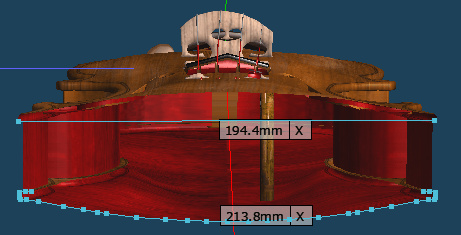
You can hide one side and check the inside. It is useful when you want to make a 3D model interior.
 |
|
 |
[Hide selected face] in [Attribute] menu / [Edit] panel are similar function.
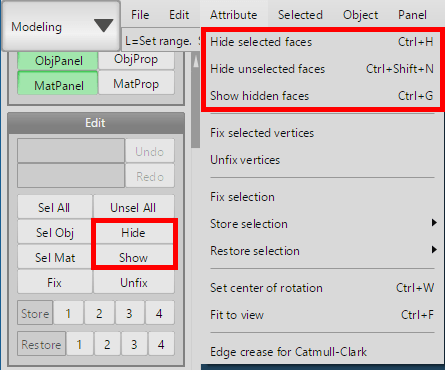
[Hide selected face] hides the selected parts. You can specify the hidden parts in detail for complicated shapes.
 |
|
 |
[Clip plane] can hide part of objects regardless of the shape of the faces.
And, you can display the cross section of a virtual surface displayed by [Mirroring] or [Lathe].
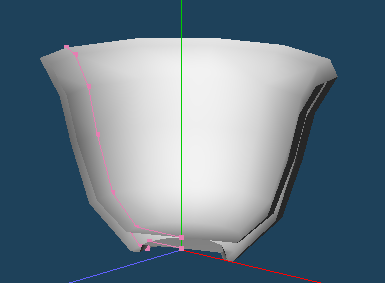 |
| Cross section of tea cup created by Lathe |